We will cover getting your nextflow pipeline up and running in the cloud using Azure. First thing to note, this process will take some time so sit back, grab a coffee and take your time working through each section.
Useful References
1. Context
Let’s start with some context. I’m working with a small team of immunology researchers who are following their scientific questions which has led into genomics. We don’t have any bioinformatics setup and are starting from nothing - which is probably going to be the case for many newcomers as NGS technology continues to become more accessible (for example Nanopore sequencing).
The University has a compute cluster but it is equally challenging to get up and running there as on the cloud. In 2021, if you are starting from scratch, I would recommend a cloud-first approach as the cloud allows scalability way beyond any high performance compute cluster at a fraction of the cost. Also, you can access the cloud from anywhere and do not have to setup VPNs etc. to use a university network.
2. Why Azure over GCP/AWS?
When I first attempted to get Nextflow up and running in the cloud, naturally AWS (Amazon Web Services) was the first contender. For those of you new to cloud computing, AWS is the most established player having been around the longest.
However, following the Nextflow documentation requires you to create a custom Amazon Machine Image that has awscli installed and no matter how many different attempts I tried, I just couldn’t get it to work properly. I suspect updates to Amazon’s infrastructure have changed the previous instructions available on the internet.
After Amazon, I tried Google Cloud using their Cloud Life Sciences API and Nextflow. It was incredibly easy to get things up and running however I soon ran into limitations on vCPU quota. Google limits new accounts to 8 vCPUs even though you have put your credit card on and upgraded your account.
When I contacted Google Support about increasing the quota, they replied and suggested contacting one of their partners and sent a link with a list of maybe a hundred companies, of which you would have no idea who would do bioinformatics. Also, I’m really not interested in going through a third party to get my account running. I might also mention my slight worry that Google does not have a great track record of supporting their non-advertising projects. See Here (I will never forget Google Reader!)
Finally, after much time spent on the above two, I had nothing to lose giving Azure a try. Initially, Azure’s interface was almost as complex as AWS. However, once you set it up, Azure support were the most responsive in getting your vCPU quota up. Within 30 minutes of setting up my account I obtained 48 vCPUs and subsequently had it increased to 128 with very little hassle at all.
Therefore, if you’re going to do what I did, I would highly recommend you try Azure first and this is my documentation of what worked in the end after about 2 weeks of effort.
3. Setting Up Your Azure Account
Let’s kick things off. First, sign up for an Azure account (that pretty much goes without saying).
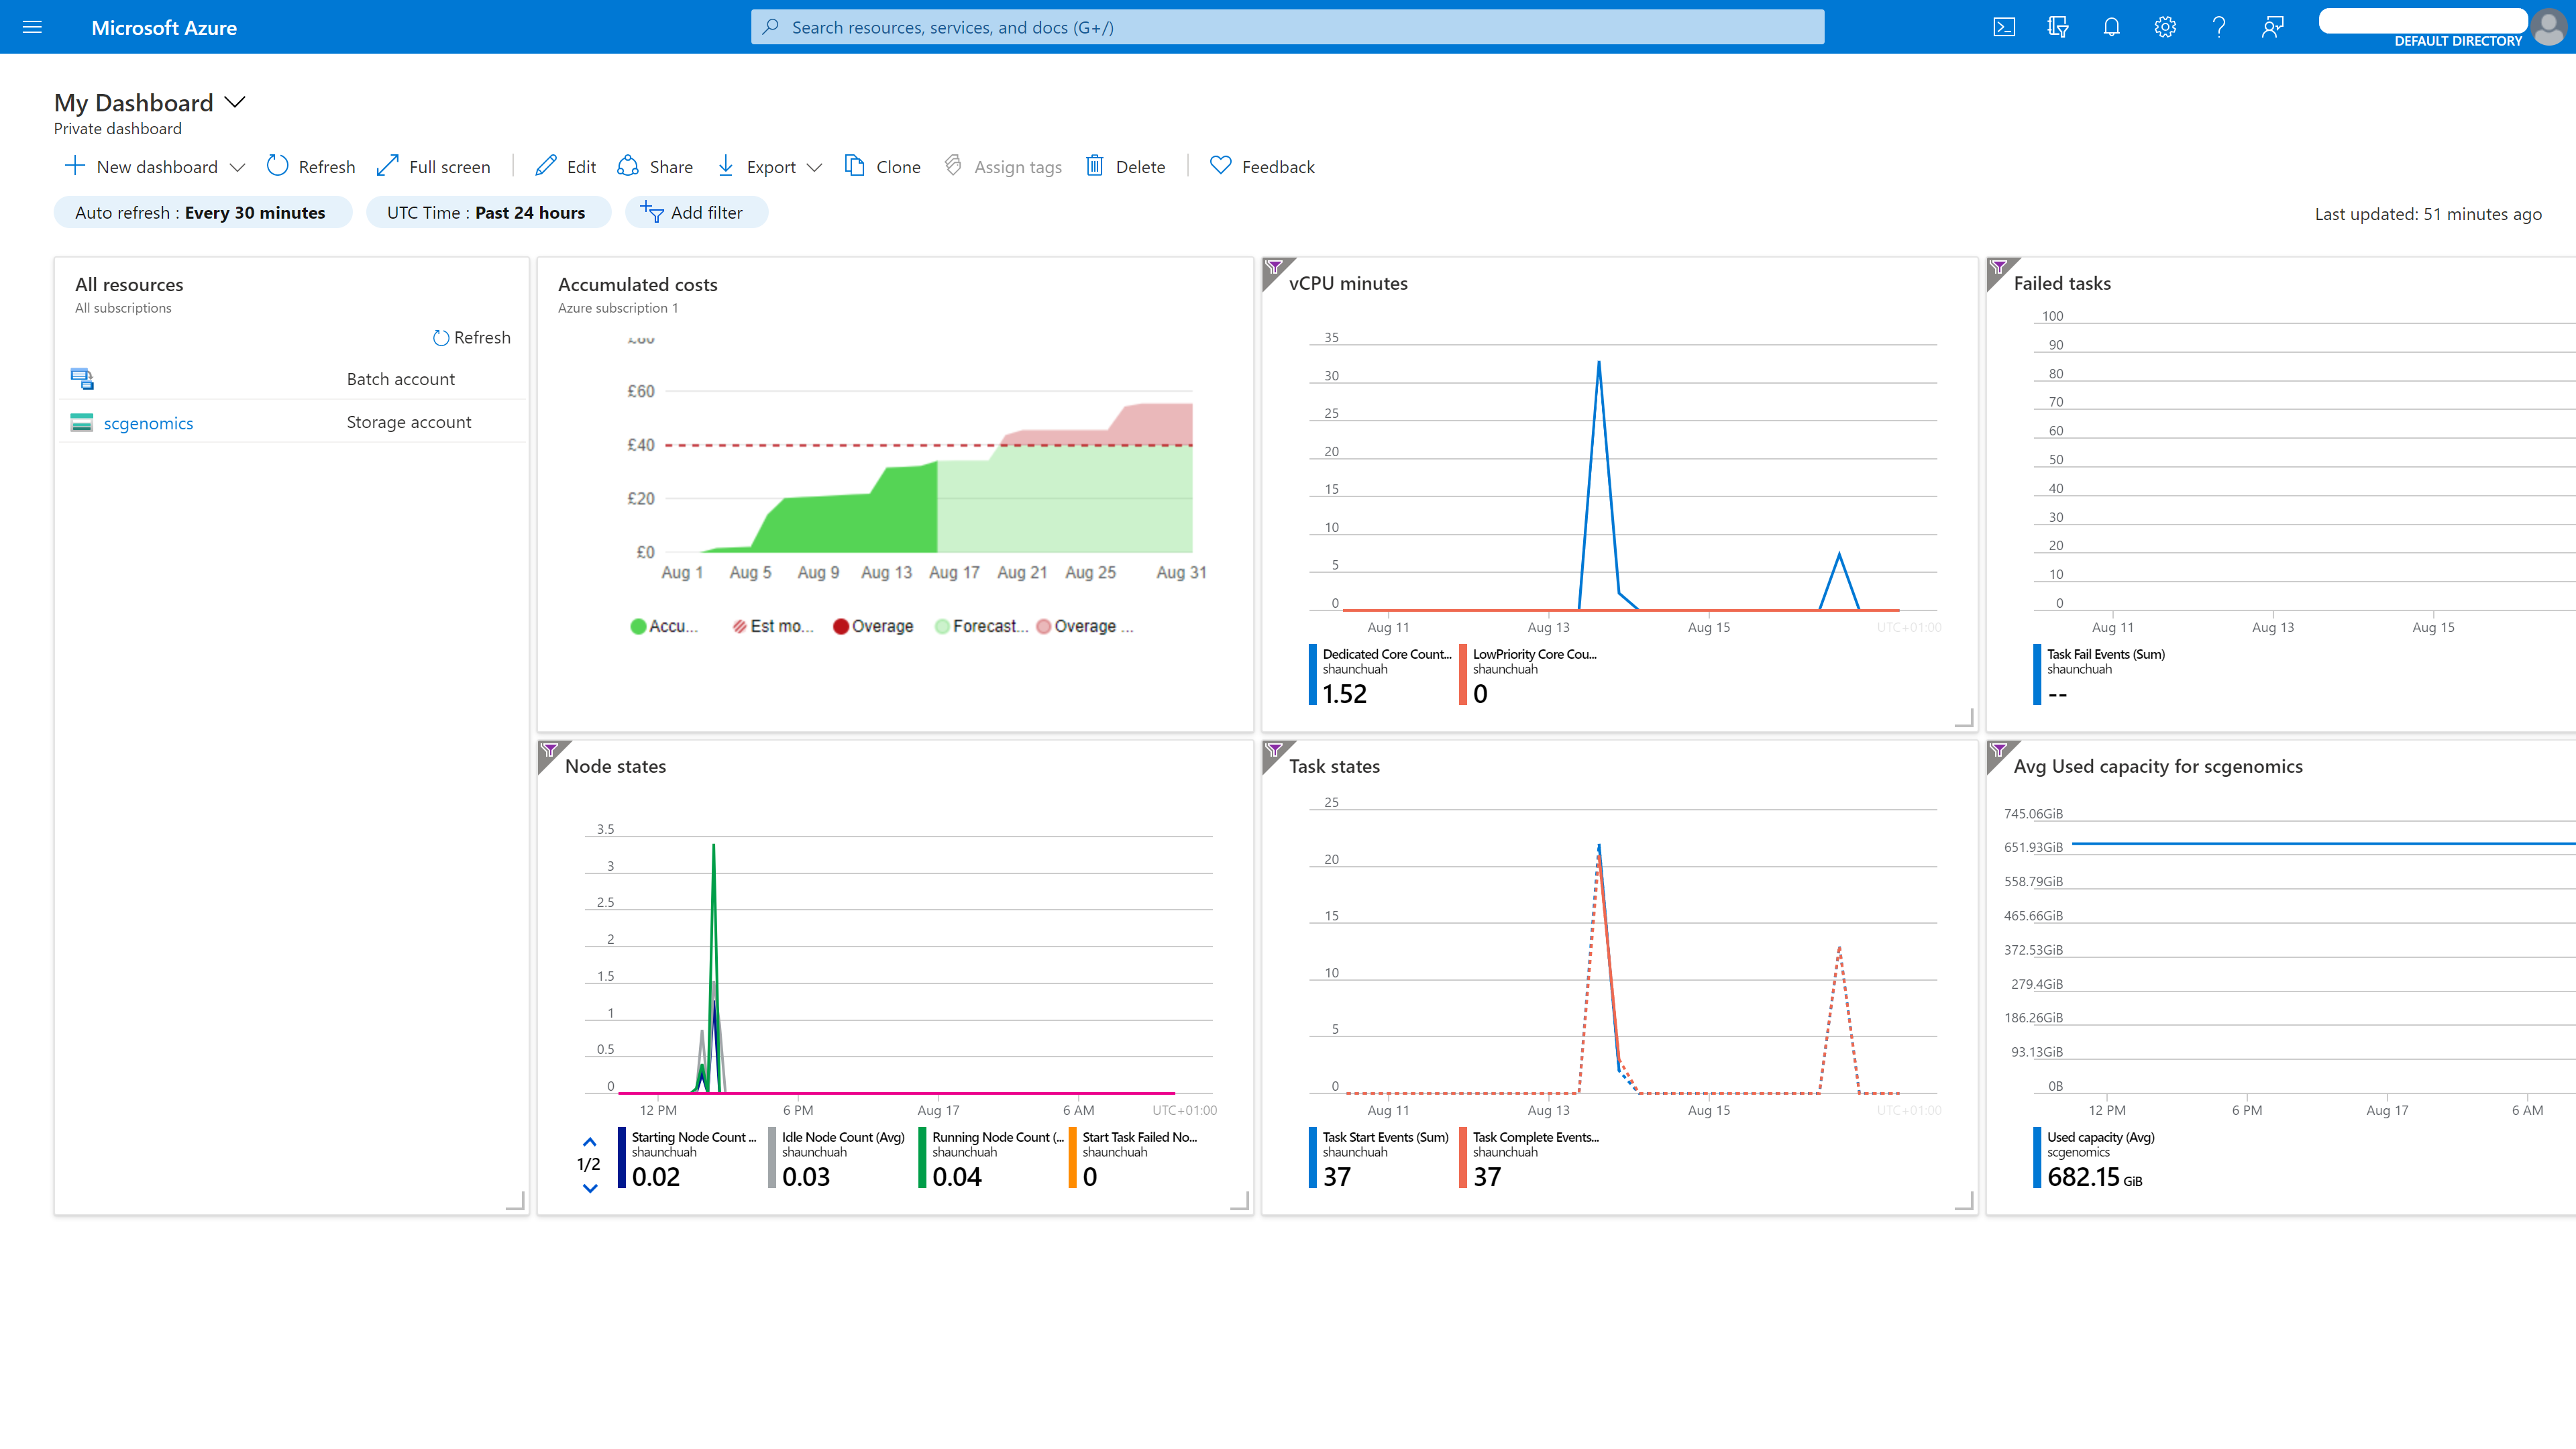 Azure Cloud Dashboard
Here’s the important bit.
Once you have your Azure account, within Azure, you need to create two accounts: one Azure Batch account and one Azure Storage account.
Batch and Storage Account Creation
Login into Azure Portal and search for ‘batch’ in the top bar. You should then click on Batch accounts. Create a batch account name and the location where you want to run your compute. When you are creating your batch account, it will ask you to associate a storage account - now is a good time to create your storage account as well.
Create A Storage Container
Once you have your storage account, enter it and click on containers in the left menubar. Then click ‘+ container’ and set up a ‘blob’ - this is equivalent to Amazon S3 and will function as the filesystem Azure Batch will read and write files to.
Get Your Account Keys
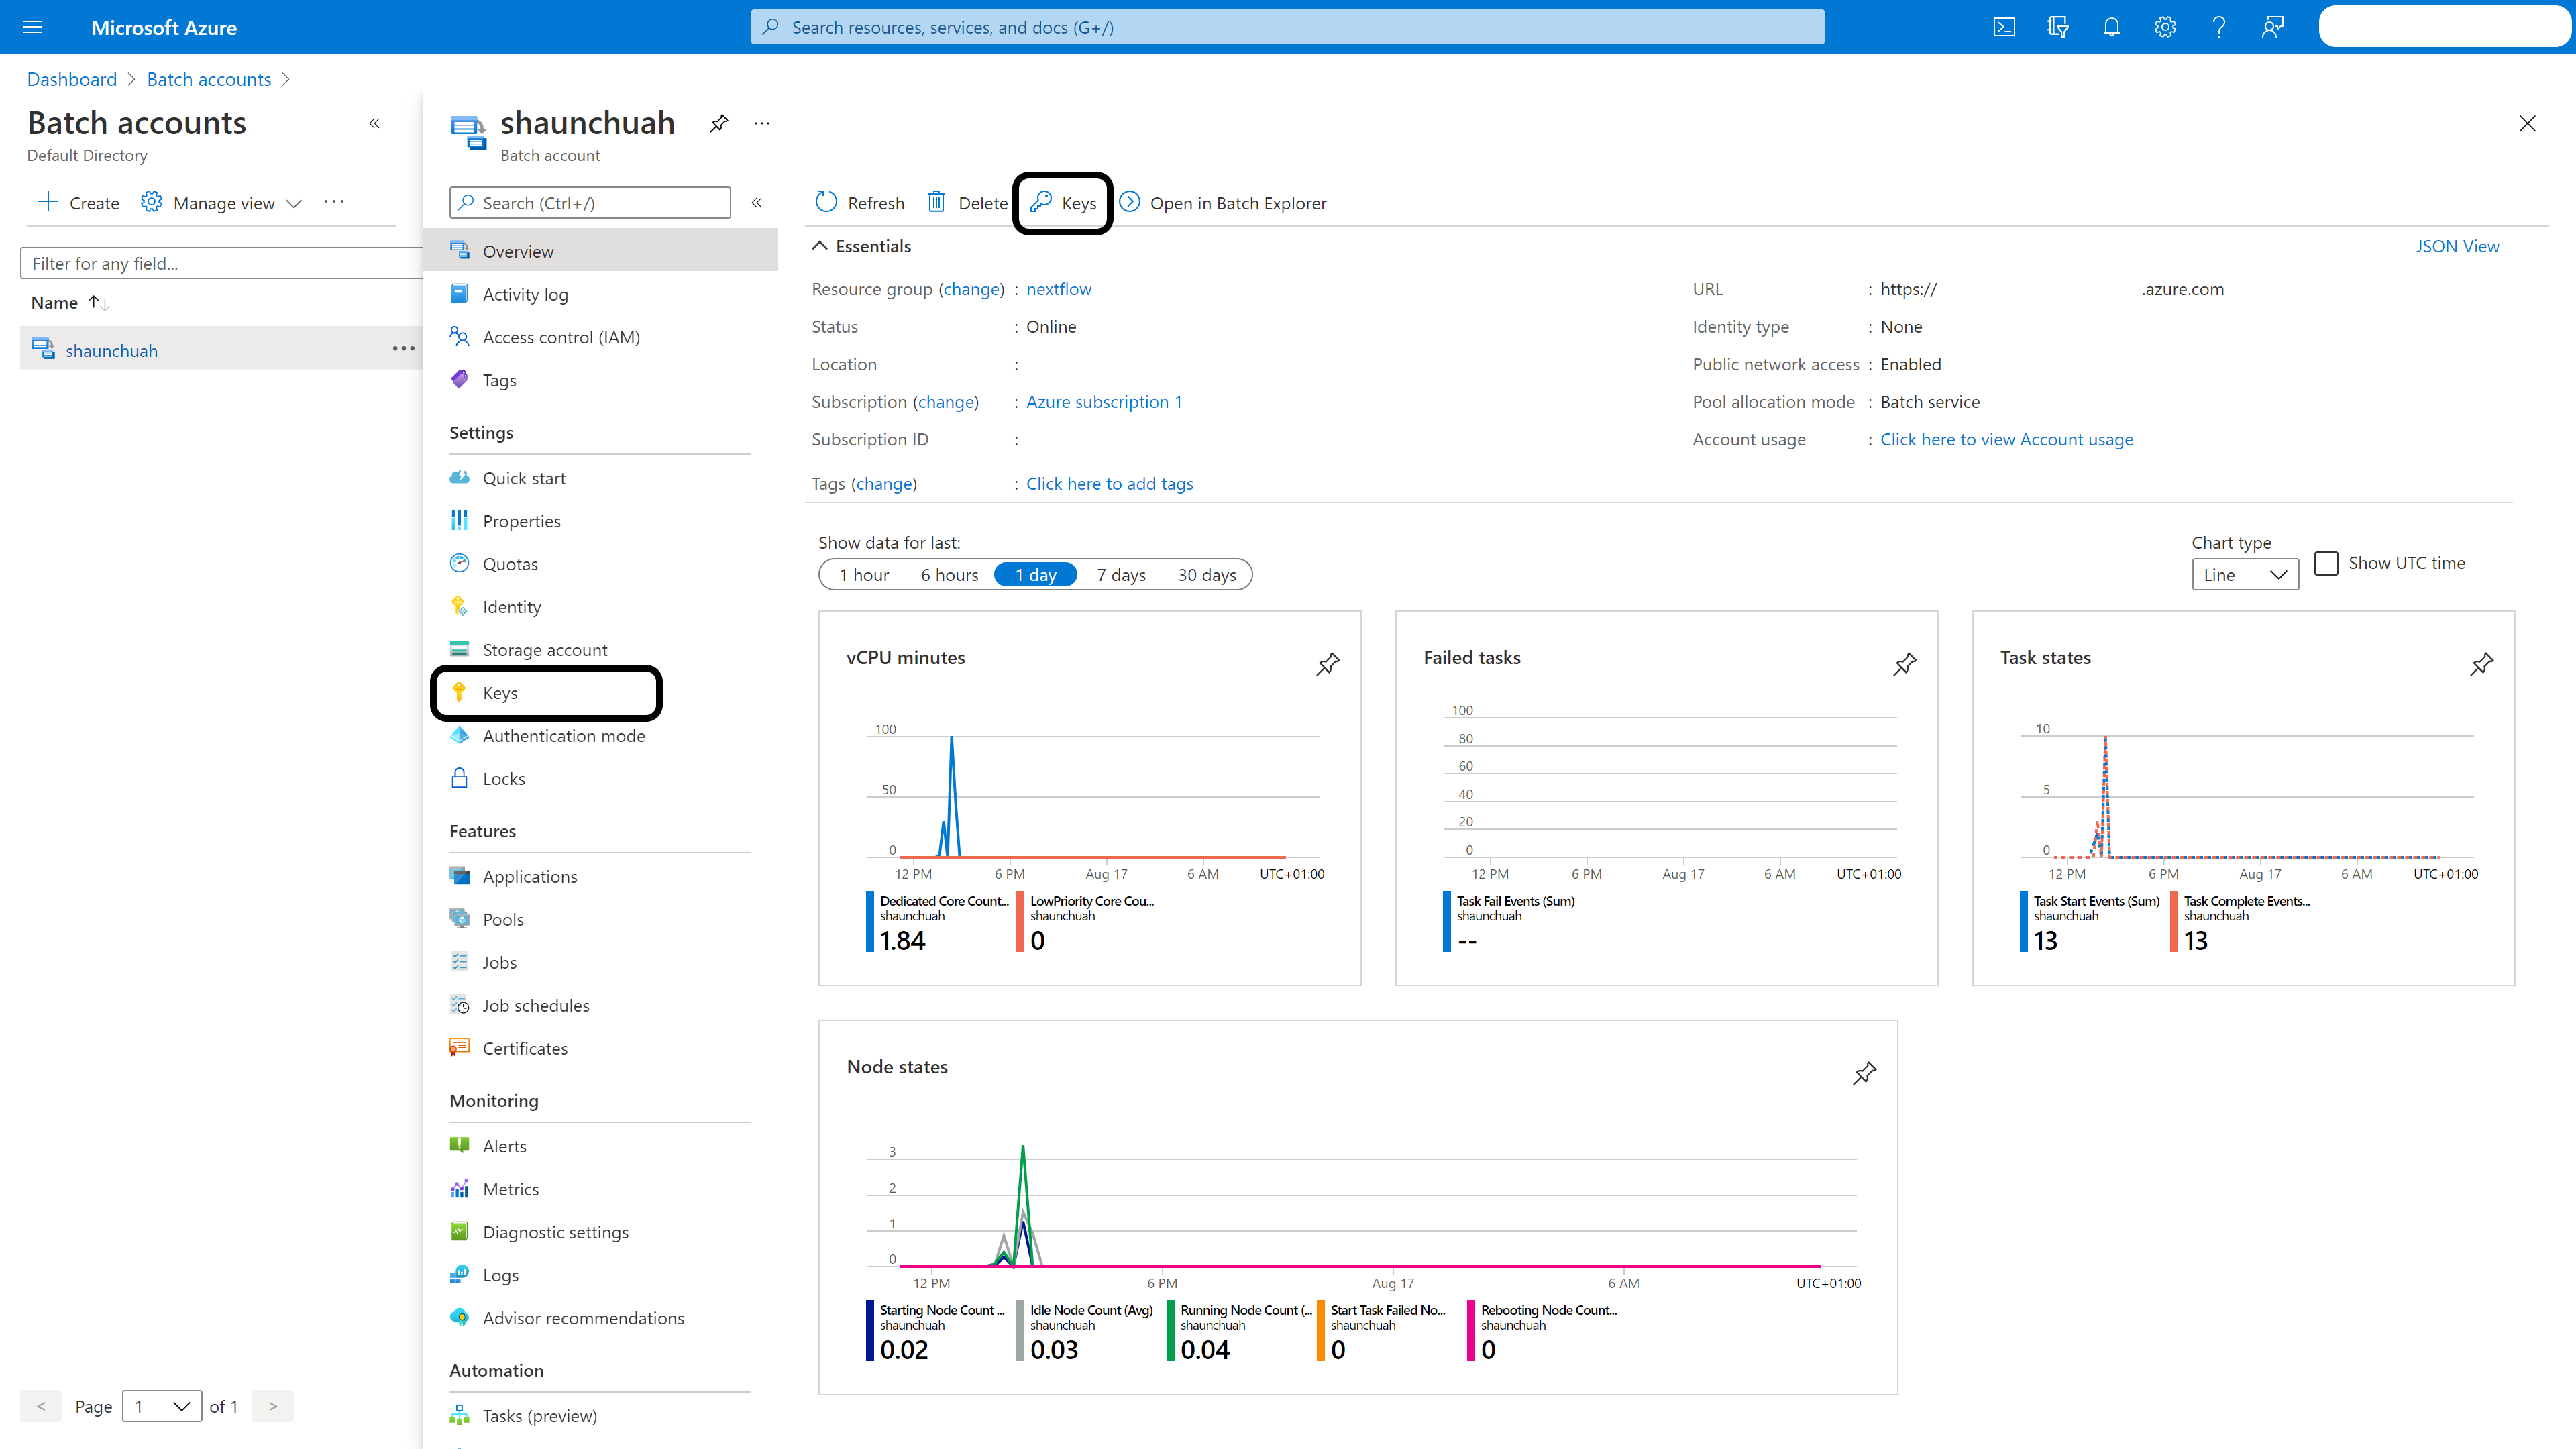
Batch account: Enter your batch account and click ‘Keys’ in the left menubar. Take a note of the name and key1.
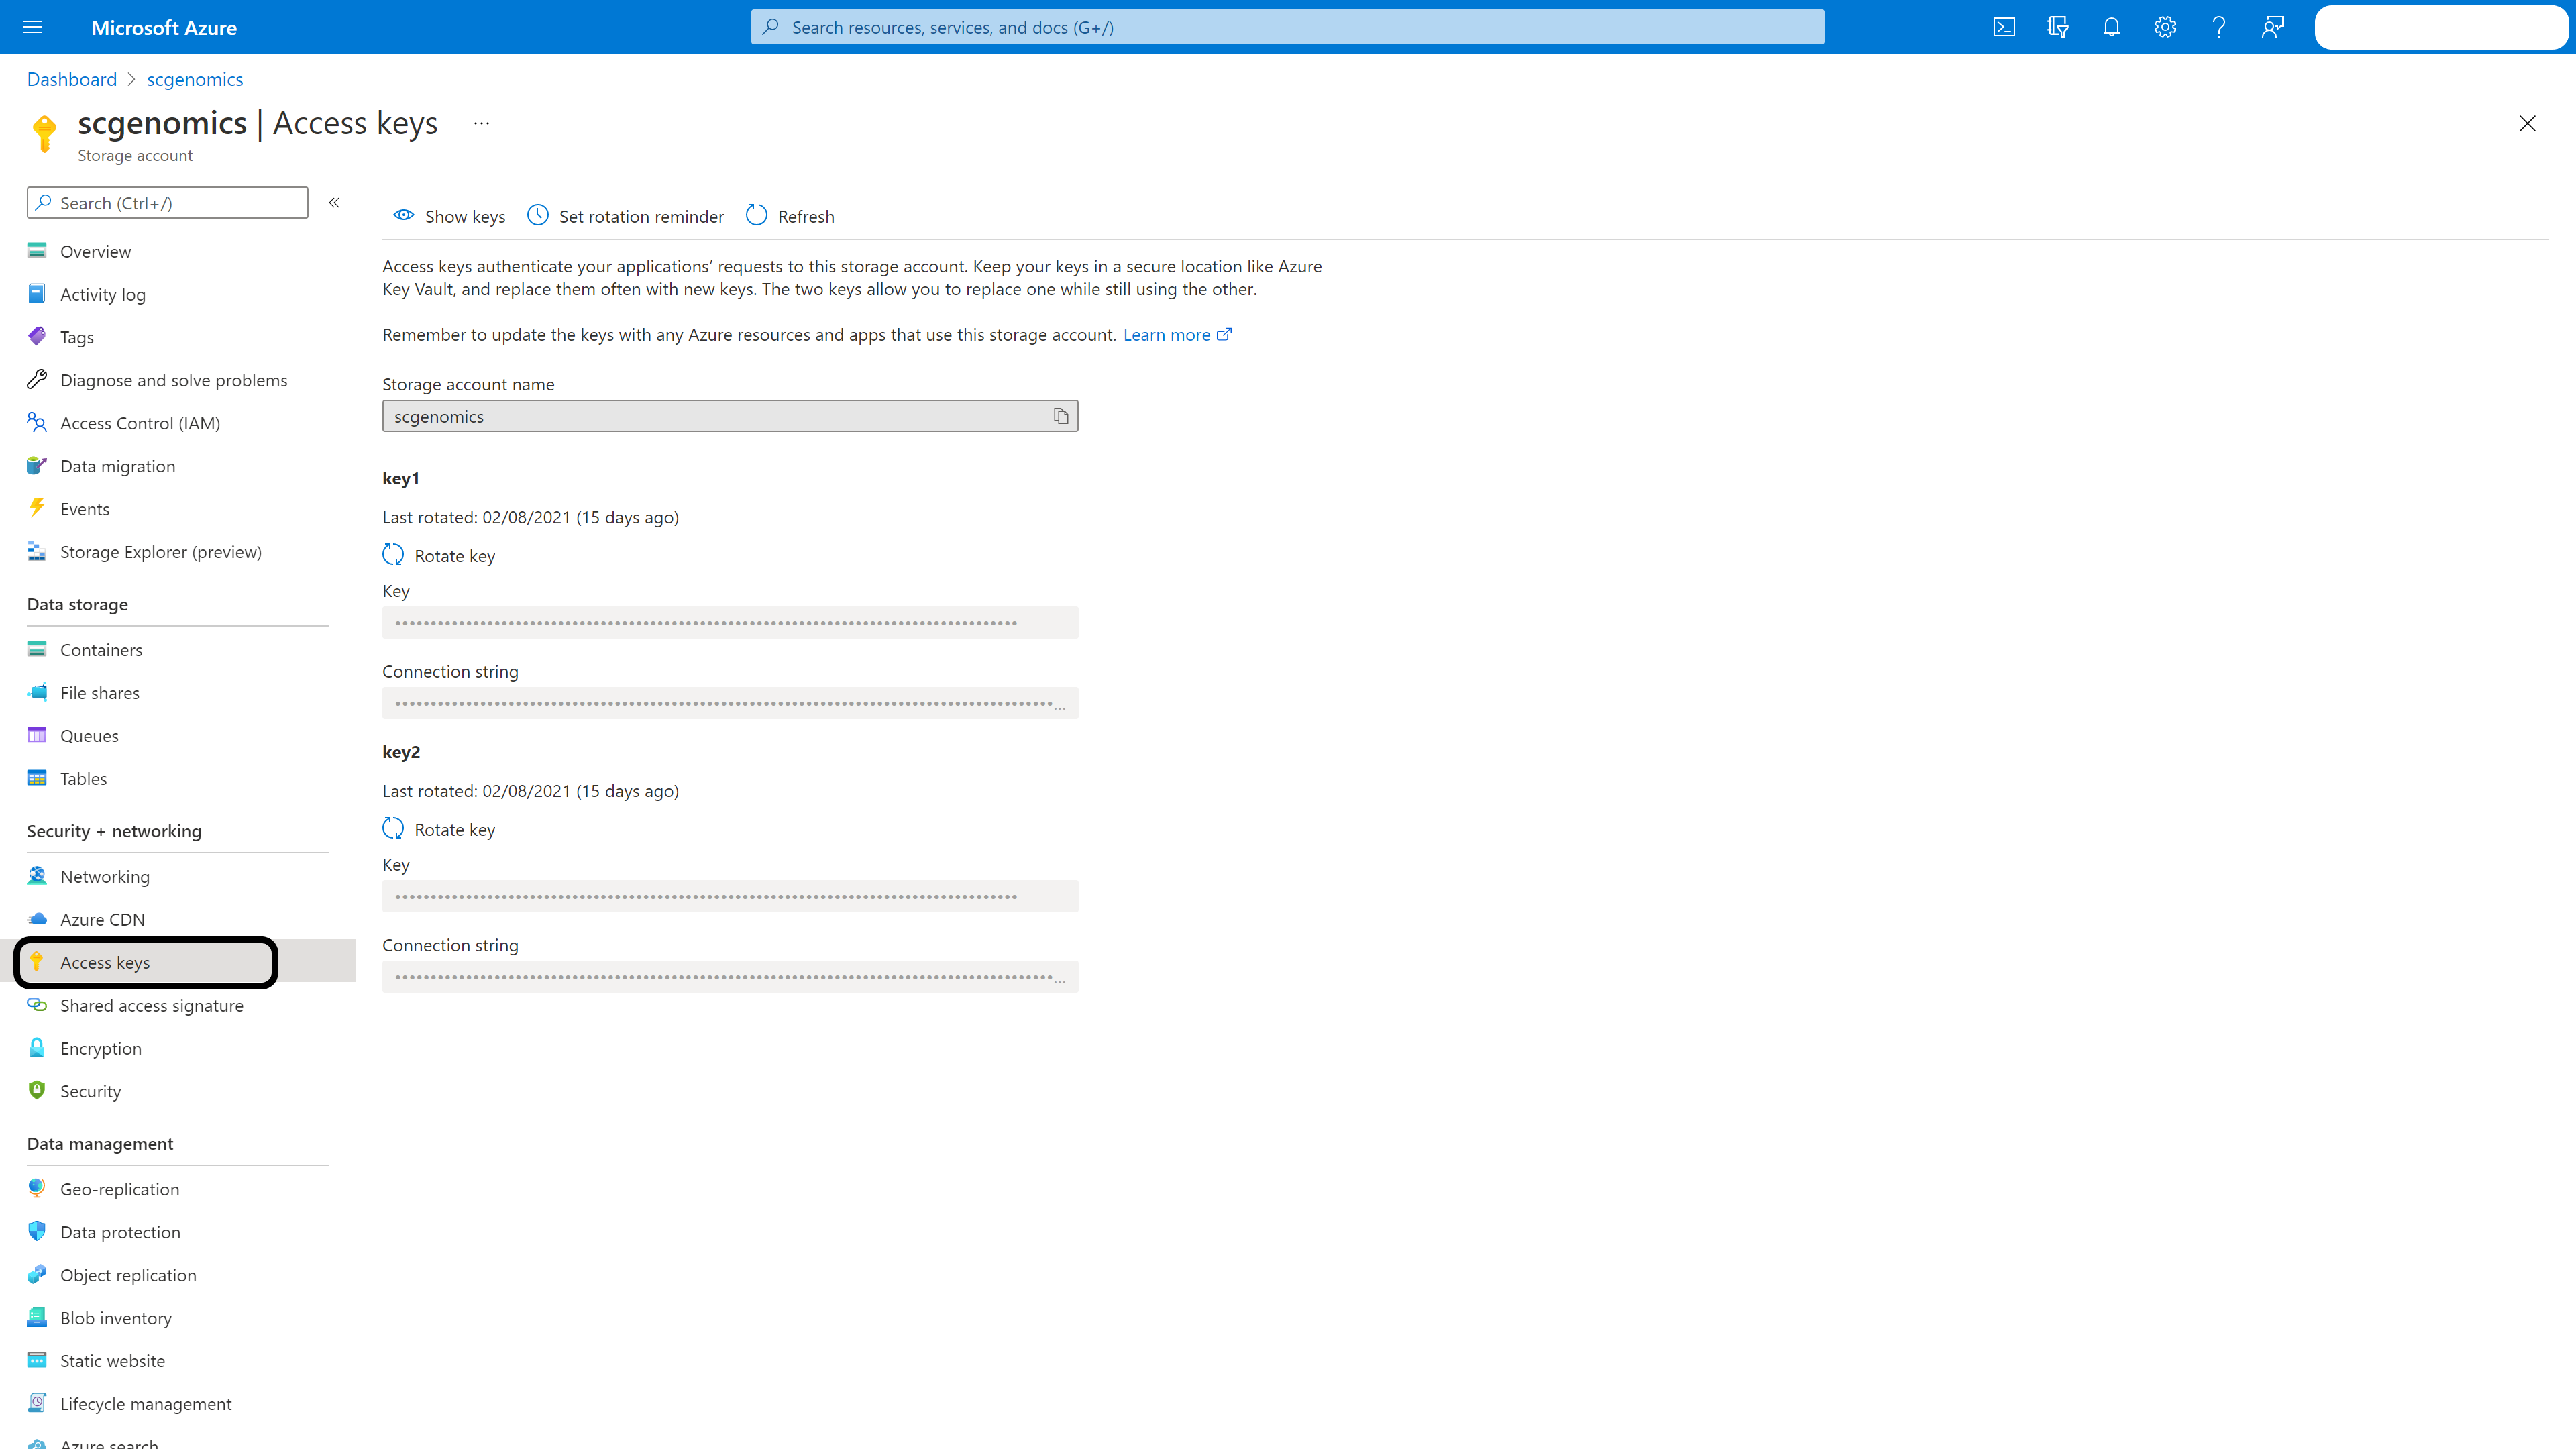
Storage account: Enter your storage account and click ‘Access Keys’ in the left menubar. Again, take note of the storage account name and key1.
That’s it for this step. Now it’s time to setup Nextflow.
4. Configuring Nextflow
I’m going to show you an example configuration here and explain it in detail. The details of your configuration will depend on your pipeline and compute requirements. I hope this serves as an easy template to follow. See the previous post for the nextflow pipeline.
profiles {
  az {
      params.reads = 'az://scgenomics/test_data/*/*_{R1,R2}_*.fastq.gz'
      params.outdir = 'az://scgenomics/test_reports'
      params.bowtie2_reference_index = "az://scgenomics/bt2_index.tar.gz"
      params.kraken2_db = "az://scgenomics/k2_standard_8gb_20210517.tar.gz"
      params.metaphlan_db = "az://scgenomics/metaphlan_db.tar.gz"
      params.cpus = 16
      process.executor = 'azurebatch'
      workDir = 'az://scgenomics/work/'
      azure {
          storage {
              accountName = azure_config["storageAccountName"]
              accountKey = azure_config["storageAccountKey"]
          }
          batch {
              location = 'uksouth'
              accountName = azure_config["batchAccountName"]
              accountKey = azure_config["batchAccountKey"]
              autoPoolMode = true
              pools {
                  auto {
                      vmType = 'Standard_D16_v3'
                      maxVmCount = 8
                      autoScale = true
                  }
              }
          }
      }
  }
  az_prod {
      params.reads = 'az://scgenomics/data/*/*_{R1,R2}_*.fastq.gz'
      params.outdir = 'az://scgenomics/reports'
      params.bowtie2_reference_index = "az://scgenomics/bt2_index.tar.gz"
      params.kraken2_db = "az://scgenomics/k2_standard_20210517.tar.gz"
      params.metaphlan_db = "az://scgenomics/metaphlan_db.tar.gz"
      params.cpus = 16
      process.executor = 'azurebatch'
      workDir = 'az://scgenomics/production_work/'
      azure {
          storage {
              accountName = azure_config["storageAccountName"]
              accountKey = azure_config["storageAccountKey"]
          }
          batch {
              location = 'uksouth'
              accountName = azure_config["batchAccountName"]
              accountKey = azure_config["batchAccountKey"]
              autoPoolMode = true
              pools {
                  auto {
                      vmType = 'Standard_D16_v3'
                      maxVmCount = 8
                      autoScale = true
                  }
              }
          }
      }
  }
}
Create test and production profiles
In your nextflow.config file - set up profiles. I’ve set up two profiles which are almost identical. One is for testing and the other is when you actually want to run the real workflow. In the following example my test profile is named ‘az’ and the production profile is ‘az_prod’. Feel free to change it to what you want.
Let’s break it down
First, let’s start with pipeline parameters. This will probably be different to your application. I’ve identified where my data resides and where I want my reports to be placed.
  params.reads = 'az://scgenomics/data/*/*_{R1,R2}_*.fastq.gz'
  params.outdir = 'az://scgenomics/reports'
2 Major Points to Note Here
  params.bowtie2_reference_index = "az://scgenomics/bt2_index.tar.gz"
  params.kraken2_db = "az://scgenomics/k2_standard_20210517.tar.gz"
  params.metaphlan_db = "az://scgenomics/metaphlan_db.tar.gz"
Important Azure’s containers doesn’t work like a real filesystem. When using reference databases I found that the pipeline doesn’t read folders. What I’ve done is zipped up the reference DBs and unzipped them in the process so that the database is copied over to the VM.
Second Point I would upload a copy of the reference database to your storage account. This is because pulling files from your storage account to the VM is really fast whereas if you asked the VM to download the database from the original external servers you are going to cause two major problems:
- It’s much slower downloading a database from S3 to Azure.
- You’re going to incur high bandwidth transfer costs both for yourself and for the team hosting the database. Not a great idea to download 20GB everytime you run a single process.
- Be nice and considerate to the kind folks who host the databases
Therefore, download a single copy of the reference database, zip it up and put it in your storage container.
params.cpus = 16
This just allows me to tweak the number of cores and is completely optional. My local machine has only 4 while I use 16 core VMs on Azure. On the process side of Nextflow I declare the cpus option as a variable that allows me to tweak the entire pipeline with a change of a single number.
Here’s a brief snippet to give you an idea (pipeline.nf file):
process bowtie2 {
    container 'biocontainers/bowtie2:v2.4.1_cv1'
    cpus "$params.cpus".toInteger()
Finally the magic
  process.executor = 'azurebatch'
  workDir = 'az://scgenomics/production_work/'
  azure {
      storage {
          accountName = azure_config["storageAccountName"]
          accountKey = azure_config["storageAccountKey"]
      }
      batch {
          location = 'uksouth'
          accountName = azure_config["batchAccountName"]
          accountKey = azure_config["batchAccountKey"]
          autoPoolMode = true
          pools {
              auto {
                  vmType = 'Standard_D16_v3'
                  maxVmCount = 8
                  autoScale = true
              }
          }
      }
  }
This block configures Azure Batch settings. You will see that I run Standard_D16_v3 machines and I use up to 8 VMs for my pipeline. Have a look at Azure’s VMs to have an idea of what machines are available. Your settings for this will be entirely dependent on your quotas and what you’re trying to run. Since kraken2 requires 64GB of RAM those are the VMs I’ve selected.
5. Separating Credentials Out of Nextflow Config
I’m assuming you are using git to version track your code. There are other tutorials on how to do that so look it up if you don’t. Personally I commit my code to GitHub and would suggest you do something similar as it will allow further cool automations that I will cover in the future.
In the above section you will notice this block of code which is different from what Nextflow’s documentation is.
accountName = azure_config["batchAccountName"]
accountKey = azure_config["batchAccountKey"]
I’m going to explain how to separate out your credentials from your nextflow.config file. You will often hear people scream ‘Don’t commit your credentials to git!’ They are right of course - if people get hold of your credentials they could run their pipelines on your credit card!
However, how to avoid doing this is often unclear and leaves beginners wondering what they are supposed to do instead..
How I Separate Credentials Out
I have my credentials in a separate JSON file named credentials.json that is added to the .gitignore file to avoid committing that to the repo.
Here is the json file which is literally 6 lines that you can fill in and rename to credentials.json
{
    "storageAccountName": "",
    "storageAccountKey": "",
    "batchAccountName": "",
    "batchAccountKey": ""
}
Make sure you add the line credentials.json to your .gitignore file. If you don’t have .gitignore, create one.
Now open nextflow.config and at the top here’s what I’ve got:
import groovy.json.JsonSlurper
def JsonSlurper = new JsonSlurper()
azure_config = JsonSlurper.parse(new File("./credentials.json"))
This allows nextflow.config to read your credentials.json file which is in the same directory as the config file.
Side note: due to relative file naming you do need to run nextflow in the root directory of your repo.
That’s it, 9 lines of code and a .gitignore file to protect you from exposing your sensitive information on the internet!
6. Running Test and Production Pipelines
To run my test pipeline (my pipeline file is named pipeline.nf, other common names include main.nf):
nextflow pipeline.nf -resume -profile az
To run production:
nextflow pipeline.nf -resume -profile az_prod
You can watch Azure Batch spin up VMs in Azure Portal.
7. Requesting A Quota Increase
Go to your batch account, click ‘quotas’ in the sidebar and then there is a button ‘Request quota increase’. Fill that in for your desired VM and Microsoft Support will hopefully quickly approve that.
What’s next?
The above steps should get you up and running initially on your own cloud supercomputer. However, you will quickly realise that this launches the pipeline from your local machine and as you know, real production pipelines can run for hours. During this time, your computer needs to remain active as it is the main controller for scheduling and arranging jobs.
In a future article, I will cover launching pipelines from a cloud server or ‘head node’ and using screen to keep long running processes active. This will let you launch pipelines from anywhere and turn off your main computer. You can even code directly on your cloud machine using VSCode Remote. Once you’ve tried this you will never go back!